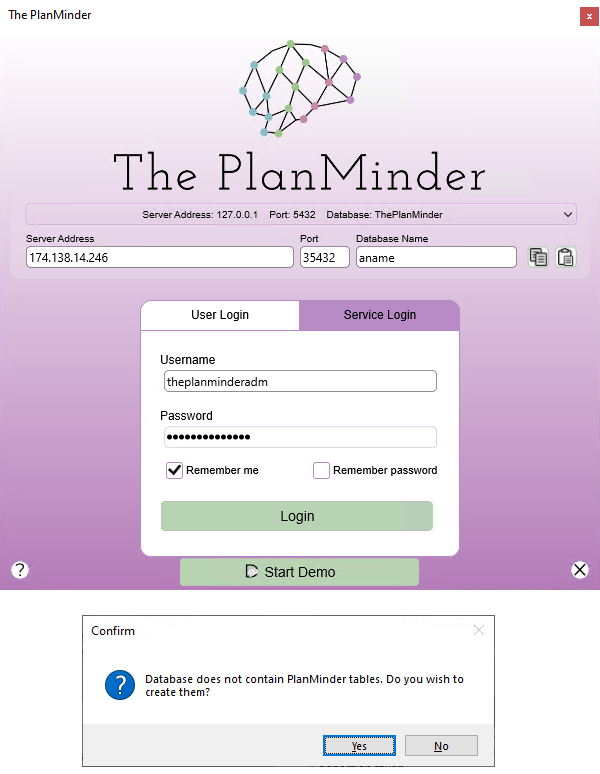
15. Start The PlanMinder, select the Service Login tab, and enter the connection information. If you have copied the connection string, you can click on the paste button to copy all the information to The PlanMinder. You always need to enter the password manually.
Then click Login.
If things are working, The PlanMinder will connect to the database, and will ask you if you want to create PlanMinder tables on the server. Click yes, and moments later, you will be logged in to your new The PlanMinder database.
16. The PlanMinder will be quite empty when you first enter. The first thing to do before starting to make plans is to create a user.
Go to the settings page, and select the Users tab.

17. Click the New User button and create a user for yourself.
Username is the name you use when you log in. Pair it up with a strong password.
18. Fill out the other fields and when you come to the checkboxes, make sure that the Administrator checkbox is checked. If you are going to use The PlanMinder you should also probably check Developer, Manager and Regular. If you are setting this up for others as an IT administrator, Administrator will be enough. Click OK to create the user.
19. Click on the “Copy Login link to clipboard” button.

20. Now you can close The PlanMinder, restart it and log in with your new user. Click on the connection drop down to reveal server settings, and click the paste button to enter your new user information. Then enter password and log in.
If you enter settings manually, The PlanMinder will remember the server settings, but you have to change the tab to User Login, and enter your new user name and password.
You can close the terminal window now.